This is my first year dye garden that’s already been quite useful!
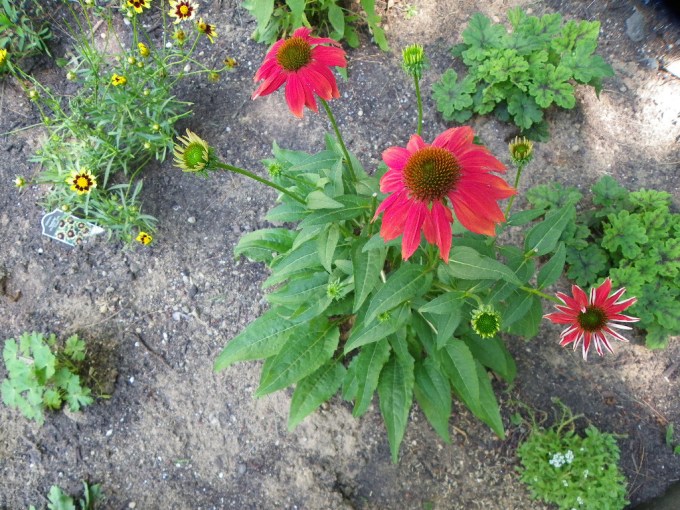
I finally documented almost everything I did this week and was much more deliberate about each step I took. The main idea here was to lessen the bleed and to obtain more color. Toward the first goal, I made sure the cloth was damp but not wet, and I patted dry the leaves before I placed them down. The last mordant , which is usually just alum, was a mixture of alum and chalk which did indeed push some of the the pigment into the fibers. The combination of these steps proved to be pretty effective in terms of crisper prints and better color. The color of blanket flowers printed the best; however, the vibrant red rudbeckia printed blue! And the alum overwhelmed the rest of the plants with a pale yellow that’s barely discernible.

In the ones below, the results are even better. The tin alters the colors in such a pleasing way to my eyes. It adds a cast of blue and green. The glossy buckthorn leaves printed such a deep and intense gold – those were long-soaked in a mixture of seawater/ birch water and calcium carbonate (aka chalk). and the sumac took on such dimension and pigment combinations! I love this series and can’t wait to turn them into art!


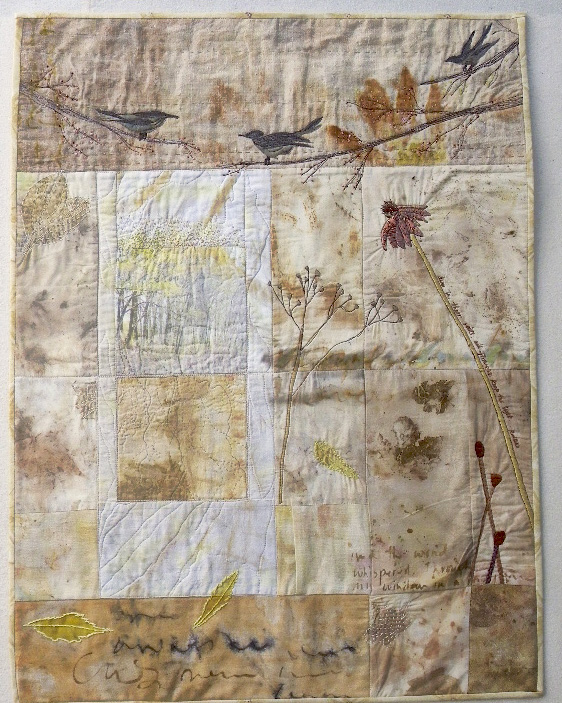
And…a finished quilt too – Gestation!
Linking Up with Off The Wall Fridays.

Fascinating to see you go from garden to fabric to artwork.
LikeLike
Glad you enjoyed it!
LikeLike
Love the quilt you’ve made – interesting article too 🌿😊
LikeLike
Thanks!
LikeLiked by 1 person
This piece is soothing to me, and is pushing me to investigate natural dyes. I’ve always been the girl chasing bright colors, but just lately I’ve begun to appreciate the nuances of earth tones. You’ve cast the subtle colors beautifully across this piece. Just lovely!
LikeLike
Than you. I do love the more subtle colors myself. Do try it!
LikeLike
Lovely quilt, I haven’t tried natural dying but may have to after seeing your results.
LikeLike